How to fix a half glass door

Y’all have asked us on many occasions to offer classes on how to fix things and we wish we had the time but there are only so many of us and so many hours in the day so instead, we are going to start posting some behind the scenes fixes just to show y’all how easy some tasks really are.
The majority of the time, we sell things “as is” but on occasion, when we get things in like doors with broken glass, we like to fix them before we sell it. Why? Well, just because we know it’s an easy fix for us, doesn’t mean it’s an easy fix for our customers. Sometimes, simple things like cutting glass is very daunting for people who have never done it before.
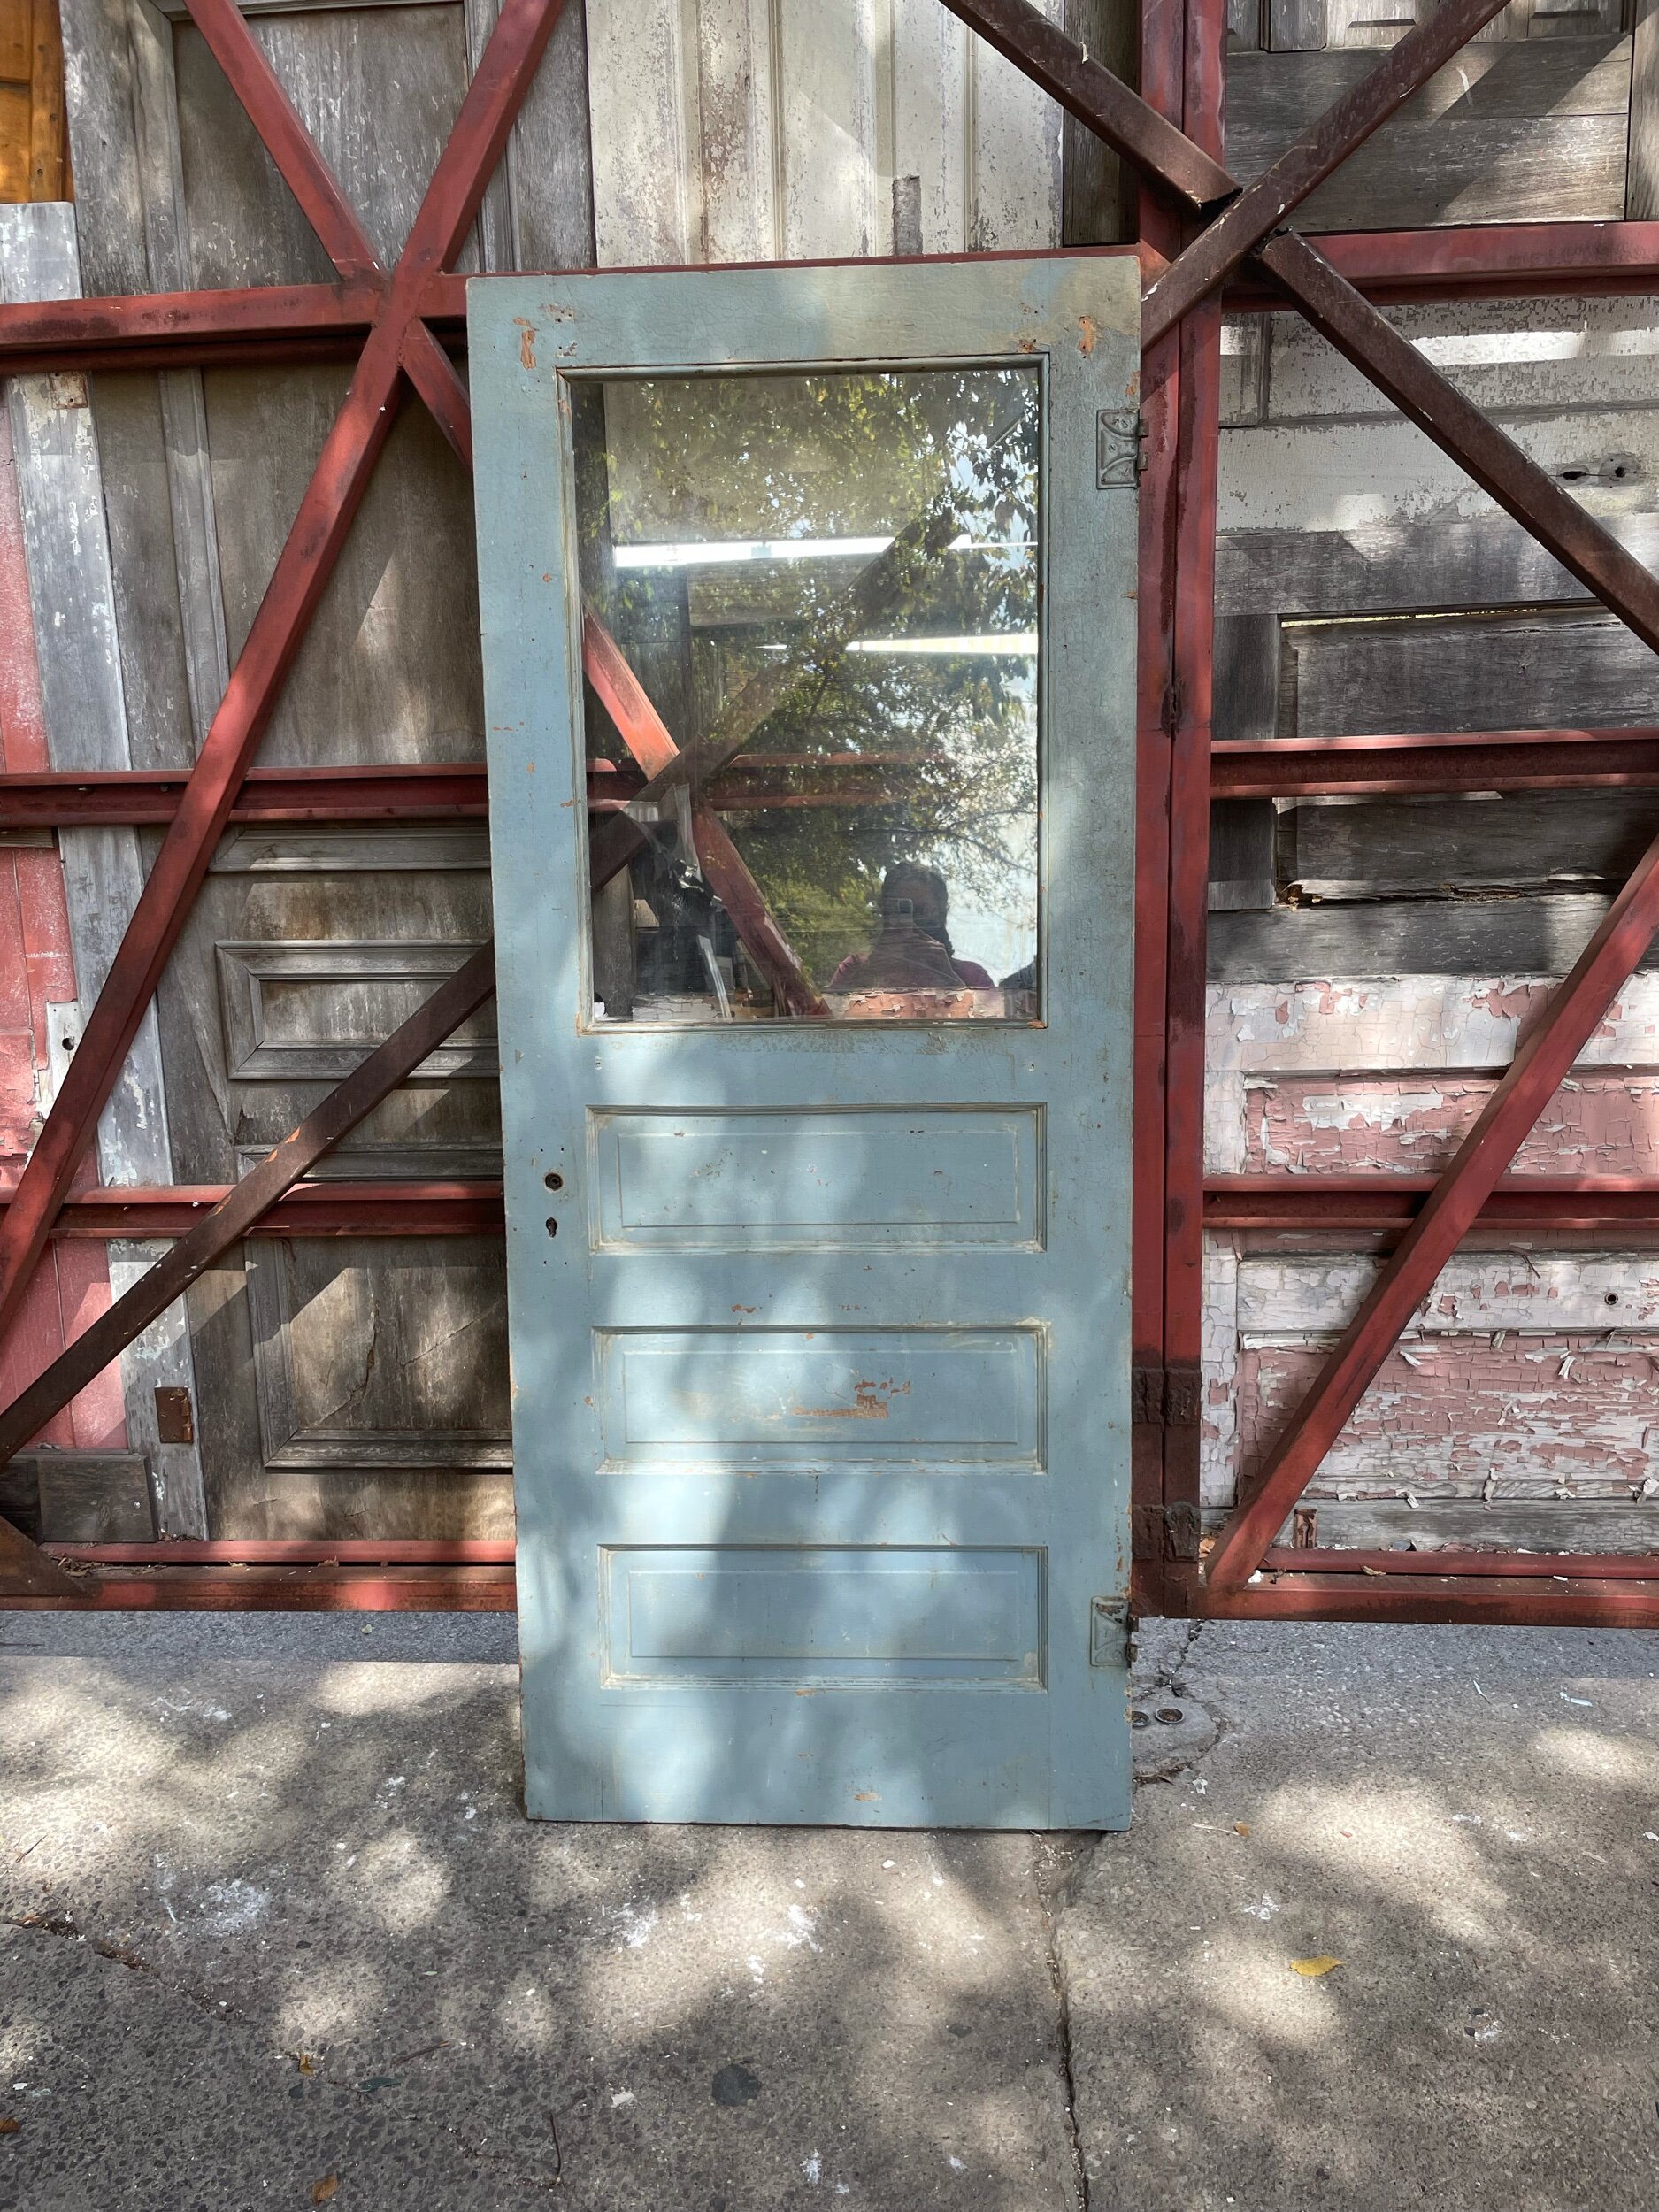
The two doors pictured above came to us in really good condition and we knew they were worthy of a few hours of work. Michelle (aka my mommy) quickly got on it. First, she broke out the remaining glass. We recommend doing this outside over a trash can. Did we do it that way? No but that’s because it was hot and my mother is fearless when it comes to glass. After she broke up the glass, she put the door on a table so it was flat. You can replace glass on a door that is still installed but it is easier to do it when it’s flat. She then got to work removing the stops. The stops are the the tiny wood trim pieces that hold the glass is place. While this step is not hard, it is tedious. Replacing stops is possible but you have to have a router to make the pieces the right size so it’s really important to go slow and take your time so you don’t break them. There are many ways to do this but my moms preferred way is to use a stiff putty knife and a hammer. She starts at one corner and gently, with firm pressure worked the putty knife in bit by bit to make sure she gets each brad nail out in order which means there is less chance of the stop breaking. Once she gets all four sides loosened, she gets in a corner and carefully removes the first piece. Sometimes there’s resistance because of how the stops were installed but as long as you are patient, the first stop will pop off and then the rest come out super easily.

For the next step, you can either go have glass cut or you can use a salvaged window and cut your own glass. There are so many glass cutting videos available so I won’t go into too much detail here but basically you remove a window pane from a window in the same way you remove the stops from a door, mark your measurements (check them multiple times), use a scoring tool to mark the glass and then a pair of glass nippers (yeah I know it’s a silly name) and that’s it.

Next, you take window glazing (found at any hardware store for roughly $10) and apply the glazing to the opening of the door where the glass will go. Then, put your glass in and add window points (tiny little metal triangles roughly $4 for a pack of 20) in each corner. Carefully tap the window points in each corner with a hammer. Then put the stops back in, and nail it back in with brad nails. When the stops are back in, flip the door over and remove the extra glazing.
That’s it. Seriously. It’s that simple. I’ve heard so many customers come in for a new door because their glass broke and someone told them it was not fixable but that’s a lie. Not only is it fixable, anyone can do it. It is tedious and it will take a few hours but it’s totally doable and the door will last another 100 years.
Both of the doors my lovely mother fixed today are now available on our website for $225 each. Go check them out!